• 아프가니스탄(USD $)
  • 올란드 제도(EUR €)
  • 알바니아(ALL L)
  • 알제리(DZD د.ج)
  • 아메리칸 사모아(USD $)
  • 안도라(EUR €)
  • 앙골라(USD $)
  • 앵귈라(XCD $)
  • 남극(USD $)
  • 앤티가바부다(XCD $)
  • 아르헨티나(USD $)
  • 아르메니아(AMD Դ)
  • 아루바(AWG ƒ)
  • 어센션 아일랜드(SHP £)
  • 호주(AUD AU$)
  • 오스트리아(EUR €)
  • 아제르바이잔(AZN ман)
  • 바하마(BSD BSD)
  • 바레인(BHD .د.ب)
  • 방글라데시(BDT ৳)
  • 바베이도스(BBD BBD)
  • 벨라루스(USD $)
  • 벨기에(EUR €)
  • 벨리즈(BZD Be)
  • 베냉(XOF Fr)
  • 버뮤다(BMD BD$)
  • 부탄(BTN Nu.)
  • 볼리비아(BOB Bs.)
  • 보스니아 헤르체고비나(BAM КМ)
  • 보츠와나(BWP P)
  • 부베 아일랜드(USD $)
  • 브라질(USD $)
  • 영국령 인도양 영토(USD $)
  • 브루나이(BND B$)
  • 불가리아(EUR €)
  • 부키 나 파소(XOF Fr)
  • 부룬디(BIF ₣)
  • 캄보디아(KHR ៛)
  • 카메룬(XAF ₣)
  • 캐나다(CAD $)
  • 카보베르데(CVE $)
  • 케이맨 제도(KYD $)
  • 중앙 아프리카 공화국(XAF ₣)
  • 차드(XAF ₣)
  • 칠레(USD $)
  • 중국(CNY ¥)
  • 크리스마스 아일랜드(AUD AU$)
  • 코코스(킬링) 제도(AUD AU$)
  • 콜롬비아(USD $)
  • 코모로(KMF Fr)
  • 콩고 - 브라자빌(XAF ₣)
  • 콩고 - 킨샤사(CDF ₣)
  • 쿡 제도(NZD $)
  • 코스타리카(CRC ₡)
  • 코트디부아르(XOF Fr)
  • 크로아티아(EUR €)
  • 키프로스(EUR €)
  • 체코(CZK Kč)
  • 덴마크(DKK kr)
  • 지부티(DJF ₣)
  • 도미니카(XCD $)
  • 도미니카 공화국(DOP $)
  • 에콰도르(USD $)
  • 이집트(EGP E£)
  • 엘살바도르(USD $)
  • 적도 기니(XAF ₣)
  • 에리트레아(ERN Nfk)
  • 에스토니아(EUR €)
  • 에티오피아(ETB Br)
  • 포클랜드 제도(FKP FKP)
  • 페로 제도(DKK kr)
  • 피지(FJD FJ$)
  • 핀란드(EUR €)
  • 프랑스(EUR €)
  • 프랑스령 기아나(EUR €)
  • 프랑스 령 폴리네시아의(XPF ₣)
  • 프랑스 남부 지역(EUR €)
  • 가봉(XOF Fr)
  • 감비아(GMD D)
  • 그루지야(USD $)
  • 독일(EUR €)
  • 가나(GHS ₵)
  • 지브롤터(GBP £)
  • 그리스(EUR €)
  • 그린란드(DKK kr)
  • 그레나다(XCD $)
  • 과들루프(EUR €)
  • 괌(USD $)
  • 과테말라(GTQ Q)
  • 건지(GBP £)
  • 기니(GNF ₣)
  • 기니비사우(XOF Fr)
  • 가이아나(GYD $)
  • 아이티(USD $)
  • 허드 & 맥도날드 제도(AUD AU$)
  • 온두라스(HNL L)
  • 홍콩 특별행정구(HKD HK$)
  • 헝가리(HUF Ft)
  • 아이슬란드(ISK Kr)
  • 인도(INR ₹)
  • 인도네시아(IDR Rp)
  • 이라크(USD $)
  • 아일랜드(EUR €)
  • 맨 섬(GBP £)
  • 이스라엘(ILS ₪)
  • 이탈리아(EUR €)
  • 자메이카(JMD $)
  • 일본(JPY ¥)
  • 저지(GBP £)
  • 요르단(USD $)
  • 카자흐스탄(KZT 〒)
  • 케냐(KES Sh)
  • 키리바시(AUD AU$)
  • 대한민국(KRW ₩)
  • 쿠웨이트(KWD دينار)
  • 키르기스스탄(KGS С̲)
  • 라오스(LAK ₭)
  • 라트비아(EUR €)
  • 레바논(LBP ل.ل)
  • 레소토(USD $)
  • 라이베리아(USD $)
  • 리비아(USD $)
  • 리히텐슈타인(CHF ₣)
  • 리투아니아(EUR €)
  • 룩셈부르크(EUR €)
  • 마카오 특별행정구(MOP P)
  • 마다가스카르(USD $)
  • 말라위(MWK MK)
  • 말레이시아(MYR RM)
  • 몰디브(MVR ރ.)
  • 말리(XOF Fr)
  • 몰타(EUR €)
  • 마셜 제도(USD $)
  • 마르티니크(EUR €)
  • 모리타니(USD $)
  • 모리셔스(MUR ₨)
  • 마요트(EUR €)
  • 멕시코(USD $)
  • 미크로네시아(USD $)
  • 몰도바(MDL L)
  • 모나코(EUR €)
  • 몽골리아(MNT ₮)
  • 몬테네그로(EUR €)
  • 몬세라트(XCD $)
  • 모로코(MAD د.م.)
  • 모잠비크(USD $)
  • 미얀마(버마)(MMK K)
  • 나미비아(USD $)
  • 나우루(AUD AU$)
  • 네팔(NPR ₨)
  • 네덜란드(EUR €)
  • 네덜란드 령 앤 틸리 스(USD $)
  • 뉴 칼레도니아(XPF ₣)
  • 뉴질랜드(NZD $)
  • 니카라과(NIO C$)
  • 니제르(XOF Fr)
  • 나이지리아(NGN ₦)
  • 니우에(NZD $)
  • 노퍽 섬(AUD AU$)
  • 북마케도니아(MKD ден)
  • 북마리아나 제도(USD $)
  • 노르웨이(USD $)
  • 오만(OMR ر.ع.)
  • 파키스탄(PKR ₨)
  • 팔라우(USD $)
  • 팔레스타인 영토(ILS ₪)
  • 파나마(USD $)
  • 파푸아 뉴기니(PGK K)
  • 파라과이(PYG ₲)
  • 페루(PEN S/)
  • 필리핀 제도(PHP ₱)
  • 핏케언 제도(NZD $)
  • 폴란드(PLN zł)
  • 포르투갈(EUR €)
  • 푸에르토 리코(USD $)
  • 카타르(QAR ر.ق)
  • 재결합(EUR €)
  • 루마니아(RON L)
  • 러시아(RUB р.)
  • 르완다(RWF ₣)
  • 사모아(WST T)
  • 산 마리노(EUR €)
  • 상투메프린시페(USD $)
  • 사우디 아라비아(SAR ر.س)
  • 세네갈(XOF Fr)
  • 세르비아(RSD din)
  • 세이셸(USD $)
  • 시에라리온(SLL Le)
  • 싱가포르(SGD S$)
  • 슬로바키아(EUR €)
  • 슬로베니아(EUR €)
  • 솔로몬 제도(SBD Si$)
  • 소말리아(SOS Sh)
  • 남아프리카(USD $)
  • 사우스 조지아 및 사우스 샌드위치 제도(GBP £)
  • 스페인(EUR €)
  • 스리랑카(LKR Rs)
  • 세인트 마틴(EUR €)
  • 세인트 헬레나(SHP £)
  • 세인트키츠네비스(XCD $)
  • 세인트루시아(XCD $)
  • 생 피에르 & 미클롱(EUR €)
  • 세인트빈센트 그레나딘(XCD $)
  • 수단(SDG ج.س.)
  • 수리남(USD $)
  • 스발바르 & 얀 마옌(USD $)
  • 에스와티니(USD $)
  • 스웨덴(SEK kr)
  • 스위스(CHF ₣)
  • 대만(TWD NT$)
  • 타지키스탄(TJS ЅМ)
  • 탄자니아(TZS Sh)
  • 태국(THB ฿)
  • 동티모르(USD $)
  • 토고(XOF Fr)
  • 토켈라우(NZD $)
  • 통가(TOP T$)
  • 트리니다드토바고(TTD TTD)
  • 트리스탄 다 쿠냐(GBP £)
  • 튀니지(USD $)
  • 칠면조(USD $)
  • 투르크메니스탄(TMT m)
  • 터크스케이커스 제도(USD $)
  • 투발루(AUD AU$)
  • 우간다(UGX Sh)
  • 우크라이나(UAH ₴)
  • 아랍 에미리트(AED د.إ)
  • 영국(GBP £)
  • 미국(USD $)
  • 미국 외딴 섬(USD $)
  • 우루과이(UYU $)
  • 우즈베키스탄(UZS лв)
  • 바누아투(VUV Vt)
  • 바티칸 시국(EUR €)
  • 베네수엘라(USD $)
  • 베트남(VND ₫)
  • 버진 아일랜드(USD $)
  • 영국령 버진 아일랜드(USD $)
  • 월리스 & 푸투나(XPF ₣)
  • 서부 사하라(MAD د.م.)
  • 예멘(YER ﷼)
  • 잠비아(USD $)
  • 짐바브웨(USD $)
/ /

GOBO Projector Too Dim Outdoors? How to Pick the Right Wattage (25W–300W)

Sep 18,2026 | JINGYU OPTOELEC

You bought a logo projector, pointed it at your storefront, and at night it’s… faint. The instinct is to blame the LED. In most cases, it’s a wattage-and-environment mismatch — and it’s fixable. Here’s how to match power to your space so your logo actually shows up.

Why “Too Dim” Usually Isn’t the LED’s Fault

Two rules explain almost every dim-projection complaint. First, a wider-angle lens spreads the same light over a bigger area, so the image is larger but dimmer; a narrower lens is brighter but smaller. Second, ambient light always competes — a unit that looks great in a dark room can wash out in a lit storefront or direct sun. Industry guides note a 2,000-lumen projector essentially disappears in direct sunlight, while daylight visibility typically needs 5,000–10,000 lumens. So before assuming the projector is weak, check your throw distance and the light around it.

Match Wattage to Your Environment

A practical starting point, based on common installation scenarios:

  • Indoor at night (café, lobby, office): 15–35W is enough. Our 25W LED logo projector covers tabletops and close walls clearly after dark.
  • Semi-outdoor / covered entry: 35–80W handles shaded storefronts and patios. The 80W unit extends reach without blowing the budget.
  • Bright outdoor / open storefront: 100–150W+ to stand up to streetlights and ambient glow.
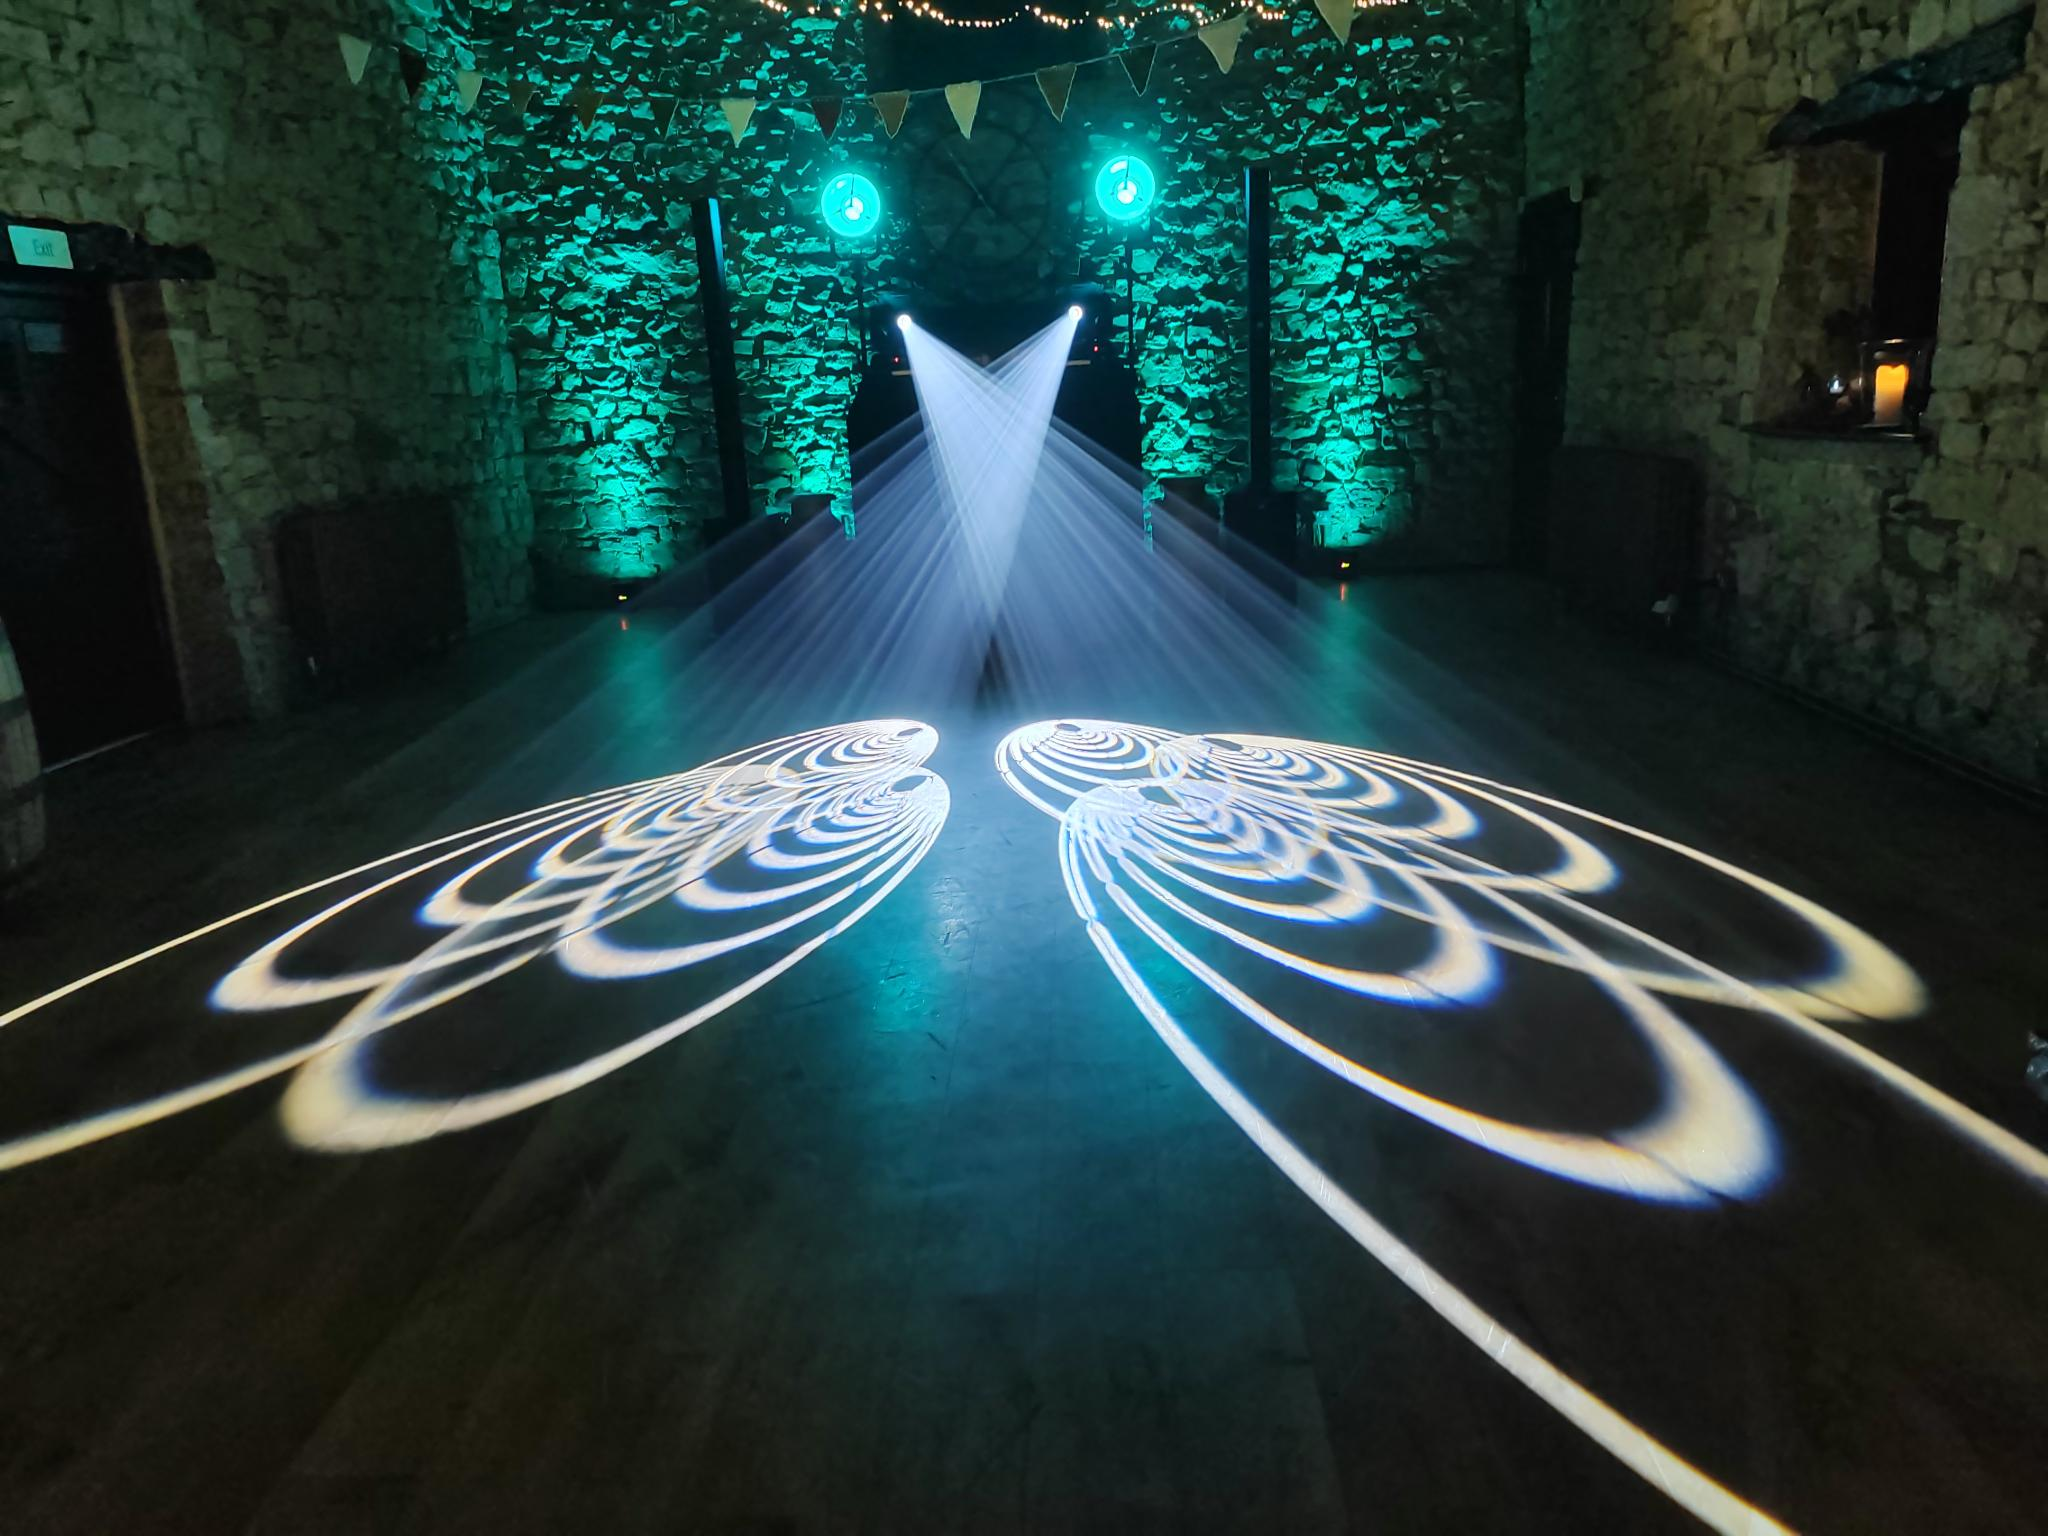
  • Building facade / long throw (20–30m): 200–300W. Our 300W IP67 projector is built for exactly this — static or rotating, weatherproof, for large surfaces.

Throw Distance Matters as Much as Watts

Doubling the distance roughly quarters the light reaching the surface. If your projection is faint, the cheapest fix is often to move the unit closer or aim it away from direct light. A 25W projector 2–3m from a dim wall can look sharper than a 100W unit straining across 15m in a lit alley.

Beware “Fake Wattage”

Some listings inflate wattage to look brighter. Reputable specs state actual wattage and LED brand (OSRAM, Cree) and often publish a brightness/photometric chart. If a “150W” unit looks dimmer than a trustworthy 80W, the label is likely exaggerated. Our projectors list real wattage and use OSRAM LEDs rated around 50,000 hours.

Indoor vs. Outdoor Build

Brightness isn’t only about watts. For outdoor permanence you also need a true weatherproof rating (IP65/IP67) and an aluminum housing so heat doesn’t throttle output. See our outdoor projection collection and the 300W IP67 model for facade work; for indoor setups, the 25W and 80W units are the sweet spot.

Lumens vs. Watts: Read Both

Wattage is power draw, not brightness — lumens (or the manufacturer’s photometric chart) is what tells you how bright the image actually is. Two projectors at the same wattage can look very different if one uses a more efficient LED or a better lens. When comparing units, read the lumen rating and the chart that maps brightness to throw distance, not just the watt number on the box.

Quick Decision Checklist

  • Dark room, close wall → 25W
  • Shaded entry, moderate distance → 60–80W
  • Lit storefront, evening → 100–150W
  • Facade, long throw → 300W IP67

Get It Right

“Too dim” is almost always a sizing problem, not a defect. Match wattage and throw to your environment, verify real specs, and you’ll get a crisp, visible logo. Need help sizing for your exact wall? Explore our custom gobo collection or contact our team.

논평
성명
이메일
논평